Knowing how to take a screenshot on Windows is an essential skill — whether you’re capturing an important message, saving a tutorial step, or showing an error for tech support. Screenshots make sharing information faster and clearer.
In this detailed guide, you’ll learn every method to take a screenshot on Windows — from quick keyboard shortcuts to advanced tools like Snipping Tool and Snip & Sketch. You’ll also discover pro tips, troubleshooting steps, and visual examples to help you capture, save, and share screenshots effortlessly.
Let’s dive into the step-by-step tutorial.
Step 1: Use the Print Screen (PrtScn) Key
The simplest way to take a screenshot on Windows is by pressing the Print Screen (PrtScn) key on your keyboard. This captures your entire screen and copies it to the clipboard.
Here’s how:
- Press
PrtScn(sometimes labeledPrtSc,Print Scrn, or similar). - Open an app like Paint, Word, or Photoshop.
- Press Ctrl + V to paste the screenshot.
- Save it as an image file (PNG or JPEG).
💡 Tip: On laptops, you may need to press Fn + PrtScn instead.
Step 2: Capture Only the Active Window
If you only want to capture one specific window (like your browser or an app), use this shortcut:
- Press Alt + PrtScn.
This takes a screenshot of the currently active window only and copies it to your clipboard.
Paste it into Paint or any image editor using Ctrl + V and save it.
💡 Tip: This method is perfect for avoiding clutter from other open windows.

Step 3: Use Windows + Print Screen for Auto-Saving
Want your screenshots saved automatically? Windows has you covered.
Here’s the shortcut:
- Press Windows + PrtScn simultaneously.
- Your screen will briefly dim — that means the screenshot was taken.
- Find your image in the Pictures > Screenshots folder.
💡 Pro tip: This is the fastest method for taking multiple screenshots without manual pasting.

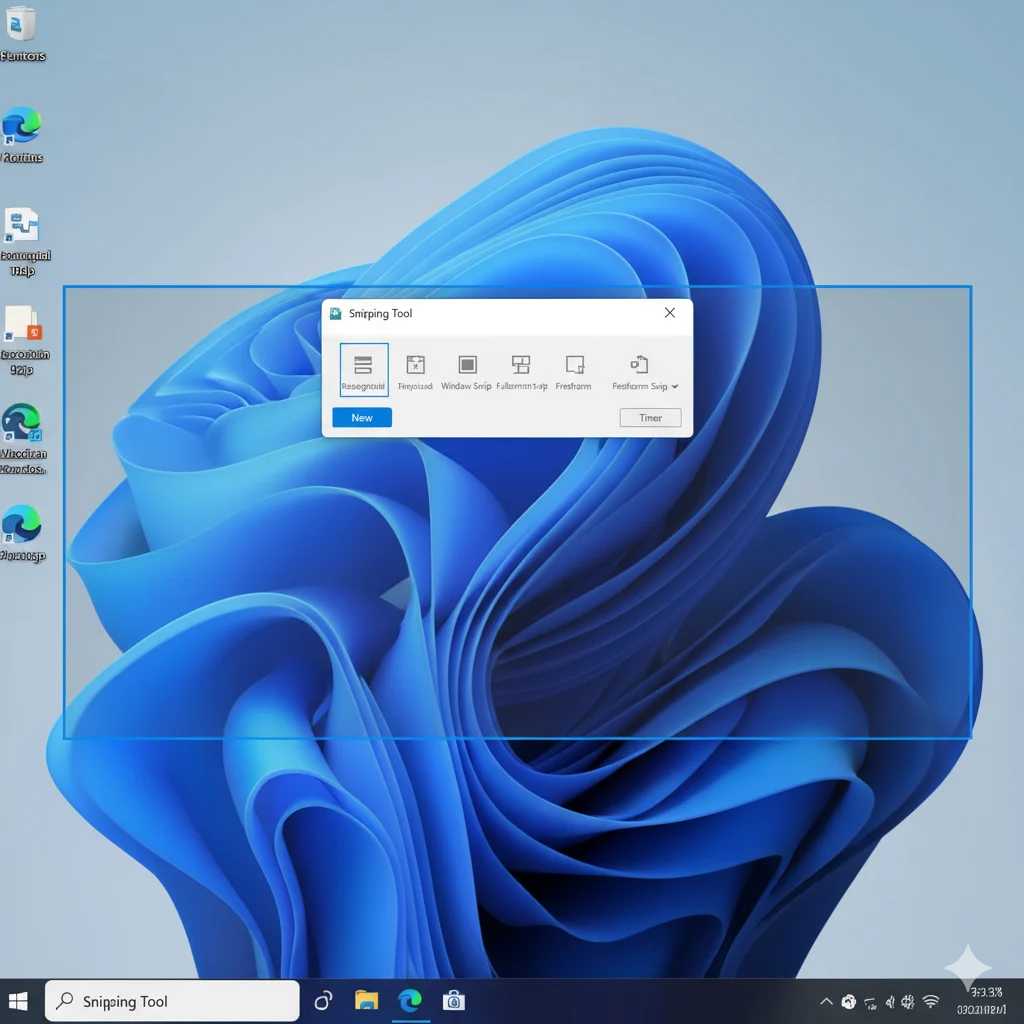
Step 4: Try the Snipping Tool (Built-In App)
The Snipping Tool is a classic Windows app that allows for more control and customization.
To use it:
- Type Snipping Tool in the Start menu and open it.
- Click New and select the area of your screen to capture.
- Use the pen or highlighter tools to annotate.
- Save or share the image directly.
The Snipping Tool lets you take rectangular, freeform, window, or full-screen snips — ideal for tutorials and documentation.
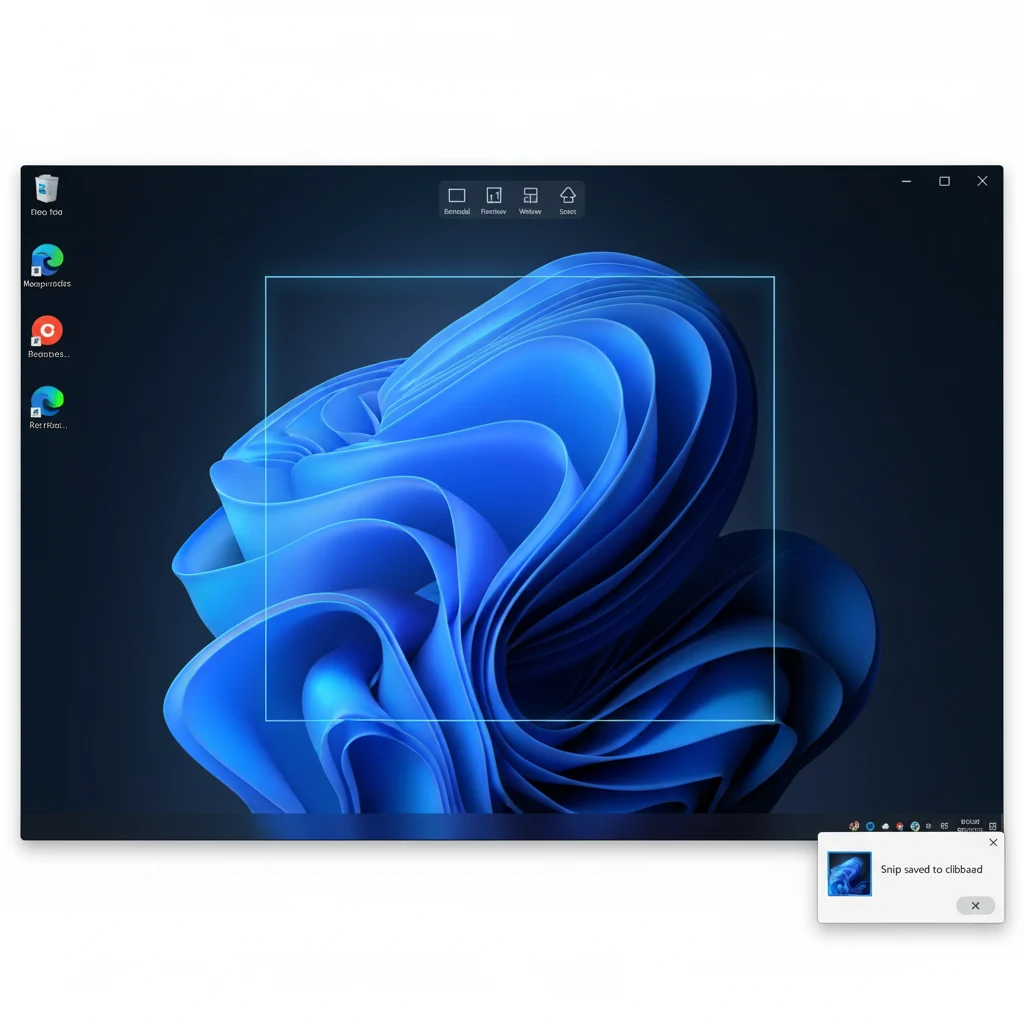
Step 5: Use Snip & Sketch (or Snipping Tool in Windows 11)
In newer versions of Windows 10 and 11, Snip & Sketch (or the updated Snipping Tool) offers even more features.
Shortcut: Press Windows + Shift + S to open the snip overlay.
Choose from:
- Rectangular Snip – drag and select.
- Freeform Snip – draw your own shape.
- Window Snip – capture one app window.
- Full-screen Snip – capture everything visible.
Once you take the screenshot, it appears as a notification. Click it to edit, crop, or annotate before saving.
Step 6: Use the Xbox Game Bar for Screen Captures
Gamers and streamers often use the Xbox Game Bar, but it’s also great for screenshots.
Steps:
- Press Windows + G to open the Game Bar.
- Click the camera icon in the Capture widget or press Windows + Alt + PrtScn.
- Your screenshots are automatically saved in the Videos > Captures folder.
💡 Tip: This method also works during full-screen gaming sessions.
Step 7: Use Third-Party Screenshot Tools (Optional)
If you need more advanced features like cloud saving or instant sharing, consider tools like:
- Lightshot – simple and fast for quick editing.
- Greenshot – lightweight and great for productivity.
- ShareX – free, powerful, and highly customizable.
These apps allow you to add text, blur sensitive data, or upload images directly online.
Visual Guide: See How It’s Done
(Insert infographic or screenshots showing keyboard shortcuts and capture areas.)
Visual Tip:
Include an annotated screenshot showing:
- The
PrtScnkey on a keyboard - The Snipping Tool interface
- The Windows + Shift + S overlay
This helps beginners visualize exactly what to expect.
Pro Tips to Take Screenshots Faster
✅ Memorize shortcuts — like Win + PrtScn or Alt + PrtScn for instant captures.
✅ Use the clipboard manager (Win + V) to find recent screenshots easily.
✅ Edit screenshots quickly with built-in Paint or Photos app.
✅ Try OneDrive integration — it can auto-save all your screenshots online.
✅ Name files clearly (e.g., “error-message-2025.png”) for easy organization.
Troubleshooting: When Things Don’t Work as Expected
Issue 1: Print Screen key doesn’t respond
→ Fix: Ensure the Fn key isn’t locking the shortcut. Check if another app (like OneDrive) is overriding screenshot hotkeys.
Issue 2: Screenshot not saving automatically
→ Fix: Verify the Pictures > Screenshots folder exists. If not, create it manually.
Issue 3: Windows + Shift + S not working
→ Fix: Go to Settings > System > Clipboard or Snipping Tool and ensure the shortcut is enabled.
Issue 4: Black screenshots in games
→ Fix: Try running the game in windowed mode or use the Xbox Game Bar instead.
Issue 5: Low-quality images
→ Fix: Save screenshots as PNG for best clarity. JPEG may reduce quality.
Conclusion
Now you know how to take a screenshot on Windows using multiple methods — from simple keyboard shortcuts to advanced tools. Whether you’re documenting a tutorial, saving proof of a message, or capturing your favorite gaming moment, Windows makes it easy.
Start experimenting with these tools today and find the method that fits your workflow best. Screenshots aren’t just useful — they’re essential for communication, creativity, and troubleshooting.
FAQ: How to Take a Screenshot on Windows
1. Where do screenshots go on Windows?
Screenshots taken with Win + PrtScn are saved in the Pictures > Screenshots folder. Others (like PrtScn or Alt + PrtScn) are copied to the clipboard and need to be pasted manually.
2. How do I take a screenshot without the Print Screen button?
Use Windows + Shift + S or open the Snipping Tool from the Start menu — no physical button required.
3. Can I take a screenshot on both Windows 10 and 11?
Yes. All methods in this guide work on both versions. Windows 11 combines Snip & Sketch and Snipping Tool into one app.
4. How can I crop or edit a screenshot easily?
After taking a screenshot, open it in Photos or Paint to crop, highlight, or draw directly.
5. How do I take scrolling screenshots?
Use third-party apps like ShareX or PicPick to capture long web pages or chat threads in one image.