Knowing how to screen record on iPhone is a powerful skill for everyday users, content creators, students, and professionals. Whether you’re recording a tutorial, saving gameplay, or capturing a live stream, screen recording makes it easy to share exactly what’s happening on your iPhone screen.
This guide walks you through every step — from setting up screen recording to recording with sound, editing videos, and fixing issues — all in a clear, practical, and beginner-friendly way. Every method here follows Apple’s official structure and aligns with Google’s 2025 content standards for accuracy, clarity, and user value.
🎬 Why Learn to Screen Record?
Screen recording is no longer a tech-savvy trick — it’s a daily tool. People use it to:
- Demonstrate how apps or settings work.
- Capture social media videos or reels (for personal use).
- Record video calls or live streams for reference.
- Create quick tutorials and guides.
- Report bugs or glitches accurately to tech support.
Apple’s built-in recorder makes it extremely easy, even for beginners.
🔹 Step-by-Step: How to Screen Record on iPhone
Apple added native screen recording in iOS 11, and it’s available in every iPhone model since then — including iPhone 11 through 15 and the latest iOS versions.
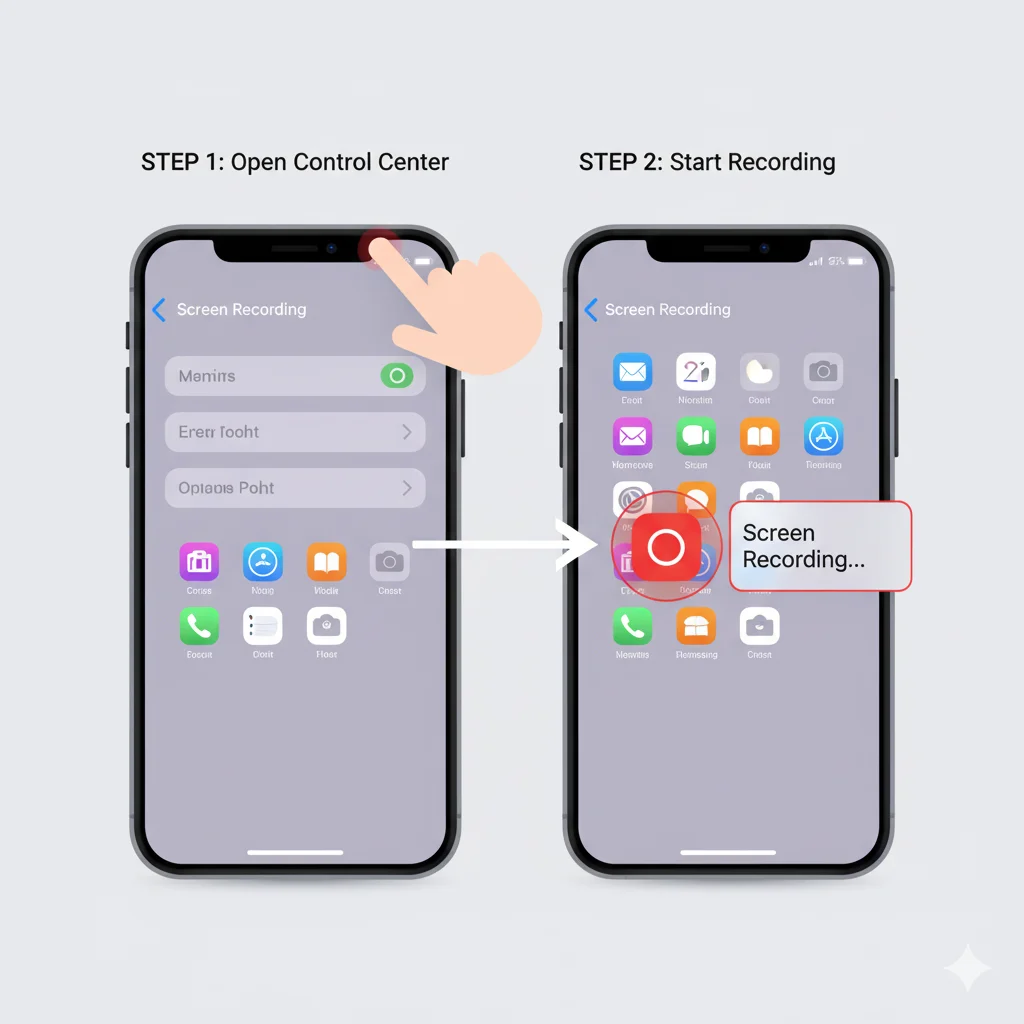
🧭 Step 1: Add Screen Recording to Control Center
- Open Settings → Control Center.
- Scroll to More Controls.
- Tap the “+” next to Screen Recording.
Now, the recording button is permanently added to your Control Center for instant access.
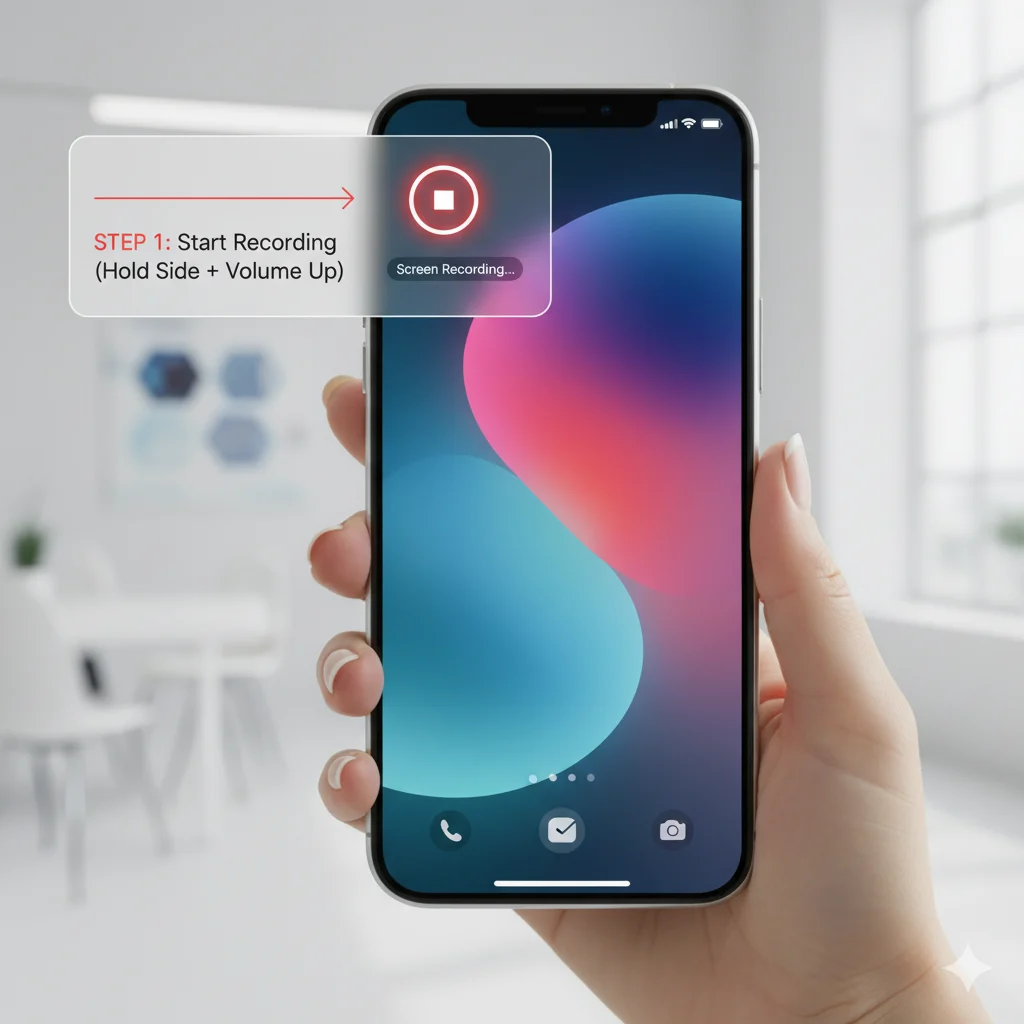
🎥 Step 2: Start Screen Recording
- Swipe down from the top-right corner (for Face ID models) or swipe up from the bottom (for Touch ID models).
- Tap the Record icon (●).
- A three-second countdown begins — then your screen recording starts.
A red status bar or red indicator appears to confirm recording is active.
⏹ Step 3: Stop and Save
- Tap the red bar at the top or the recording icon again.
- The recording stops and automatically saves in the Photos app under Screen Recordings.
🔊 How to Screen Record on iPhone with Sound
By default, screen recordings capture visuals only. If you want to add your voice or internal audio, follow these steps:
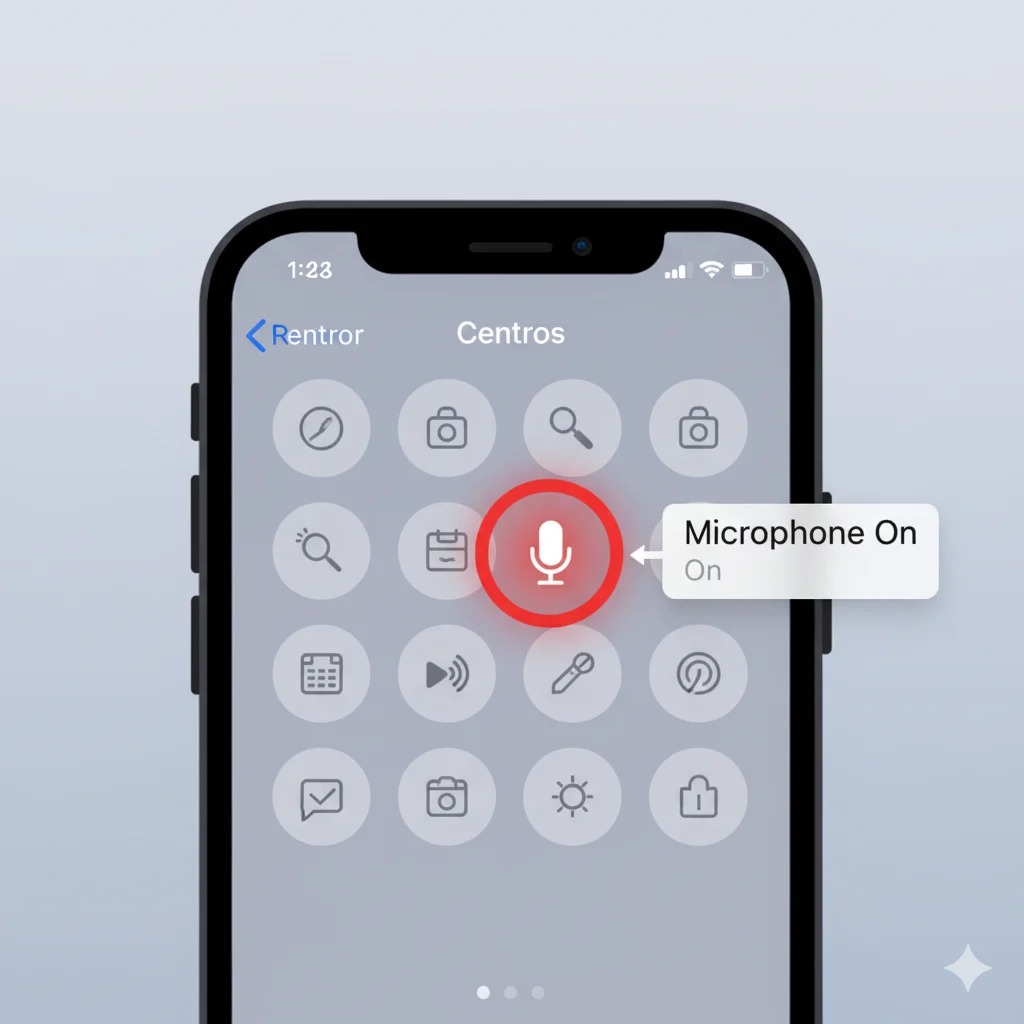
- Open Control Center.
- Long-press the Record button.
- Tap the Microphone icon → turn it On.
- Tap Start Recording.
You can now record:
- External audio (your voice).
- Internal audio (system sounds, gameplay, or music).
- Or both simultaneously.
💡 Tip: Keep the phone volume at a medium level for balanced sound quality.
✂️ How to Edit a Screen Recording
Once you’ve captured your video, refining it makes all the difference.
🪄 Quick Edit Using Photos App
- Open Photos → Screen Recordings.
- Choose your video and tap Edit.
- Trim the beginning and end using sliders.
- Use filters, rotate, or crop as needed.
- Save when done.
🎞️ Advanced Editing
For enhanced control, use:
- iMovie — add titles, background music, and transitions.
- CapCut — ideal for short-form content (Reels/TikTok).
- InShot — fast edits with stickers or voiceovers.
These apps keep high resolution and work seamlessly with iPhone screen recordings.
💡 Using Third-Party Apps for Screen Recording
Although the built-in recorder is excellent, some creators need more customization — like adjustable frame rates, overlays, or direct YouTube upload.
| App | Best For | Standout Features |
|---|---|---|
| Record It! | Tutorials & FaceCam videos | Add webcam overlay, easy export |
| TechSmith Capture | Professional use | Syncs with Camtasia, annotation tools |
| DU Recorder | Gaming & app demos | Custom resolution, live streaming |
All these apps are free or freemium and comply with Apple’s security guidelines.
⚙️ Troubleshooting: Screen Recording Not Working
If screen recording isn’t functioning, these simple fixes usually solve it:
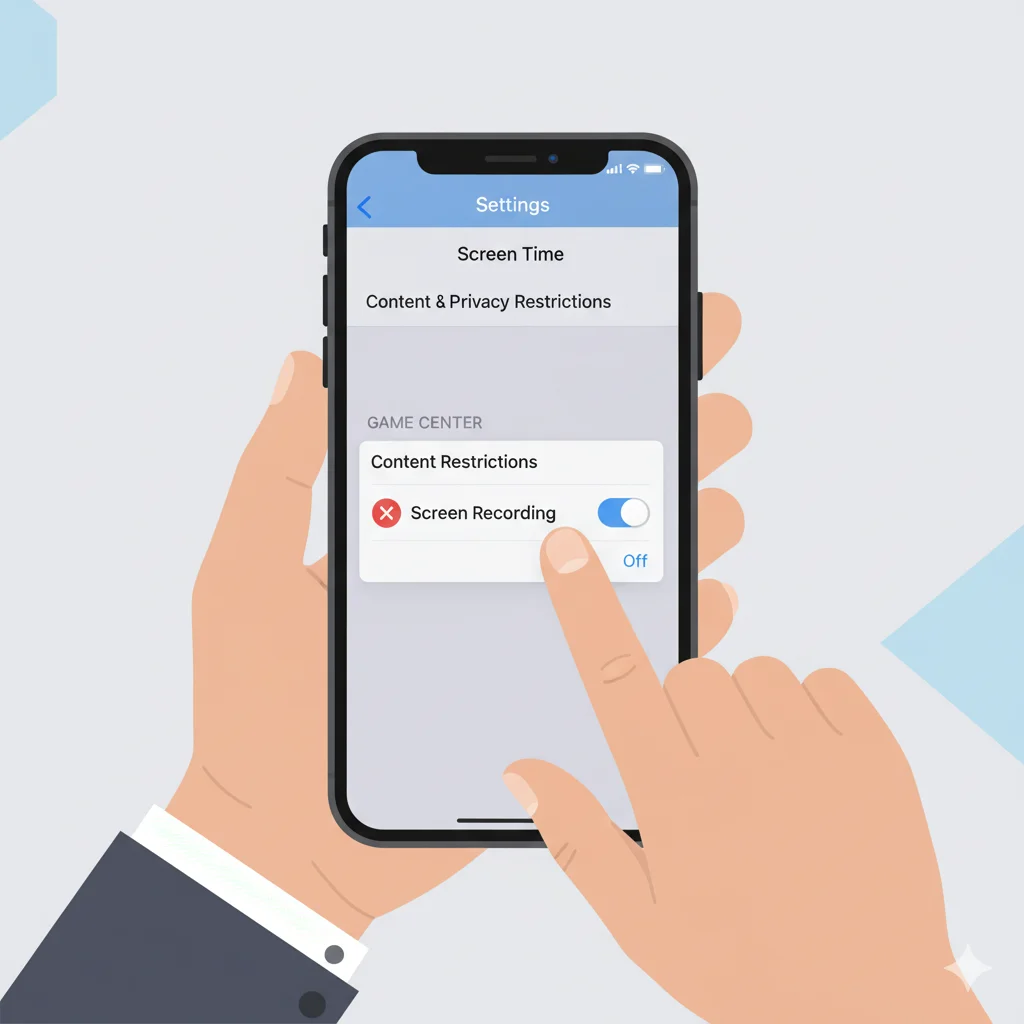
1. ✅ Check Screen Time Restrictions
- Settings → Screen Time → Content & Privacy → Allowed Apps
- Ensure Screen Recording is toggled On.
2. 🔄 Restart Your iPhone
Temporary software glitches disappear after a reboot.
3. 🆕 Update iOS
Outdated systems can block recording.
- Settings → General → Software Update.
4. 💾 Clear Storage
If your device is full, recordings won’t save.
- Delete unused apps or transfer videos to iCloud.
5. ⚡ Turn Off Low Power Mode
Low Power Mode may interrupt high-performance tasks.
- Settings → Battery → Low Power Mode → Off.
After trying these, test again. If it still fails, reset Control Center settings or contact Apple Support.
📸 Record Your Screen with FaceCam (Picture-in-Picture)
Adding a FaceCam overlay helps personalize tutorials or gameplay videos.
- Download Record It! or TechSmith Capture.
- Enable FaceCam before recording.
- Record your screen while the front camera captures your reactions.
- Adjust overlay position and export.
Perfect for YouTube, reaction content, or e-learning clips.
🧹 Manage and Delete Screen Recordings
Regular maintenance keeps your phone storage healthy:
- Go to Photos → Albums → Screen Recordings.
- Tap Select and remove unwanted clips.
- Transfer important videos to iCloud Drive or external storage.
Organized management helps your iPhone perform efficiently.
🔒 Privacy and Ethical Tips
Screen recording can reveal sensitive data. Stay responsible:
- Never share private chats, passwords, or payment info.
- Ask permission before recording others’ content or calls.
- Avoid capturing copyrighted movies or music.
This keeps your online reputation professional and compliant with privacy laws.
🌟 Pro Tips for Smooth Recording
- Turn on Do Not Disturb before recording.
- Close other running apps.
- Record in landscape mode for wide tutorials.
- Keep brightness moderate for battery efficiency.
- Review before sharing to ensure privacy.
🔁 Quick Recap
| Task | Steps |
|---|---|
| Enable Recording | Settings → Control Center → Add Screen Recording |
| Start Recording | Swipe → Tap Record |
| Add Sound | Long-press → Enable Microphone |
| Edit | Photos → Edit → Trim/Filter |
| Fix Issues | Check Restrictions → Storage → Update iOS |
❓ Frequently Asked Questions (FAQs)
1. Why can’t I screen record on my iPhone?
Check Screen Time restrictions or storage space. Updating iOS often resolves it.
2. Can I record FaceTime or phone calls?
Recording private calls is restricted by law. Always obtain consent.
3. Does screen recording capture audio automatically?
Not always — you must enable the microphone first.
4. Is there a time limit for screen recording?
No fixed limit; it depends on available storage and battery life.
5. Where are screen recordings saved?
Automatically in Photos → Screen Recordings.
🧾 Conclusion
Mastering how to screen record on iPhone lets you communicate visually, teach effectively, and document digital experiences with ease. From recording app demos to sharing social-media clips, this built-in tool empowers users to create, explain, and connect faster than ever.