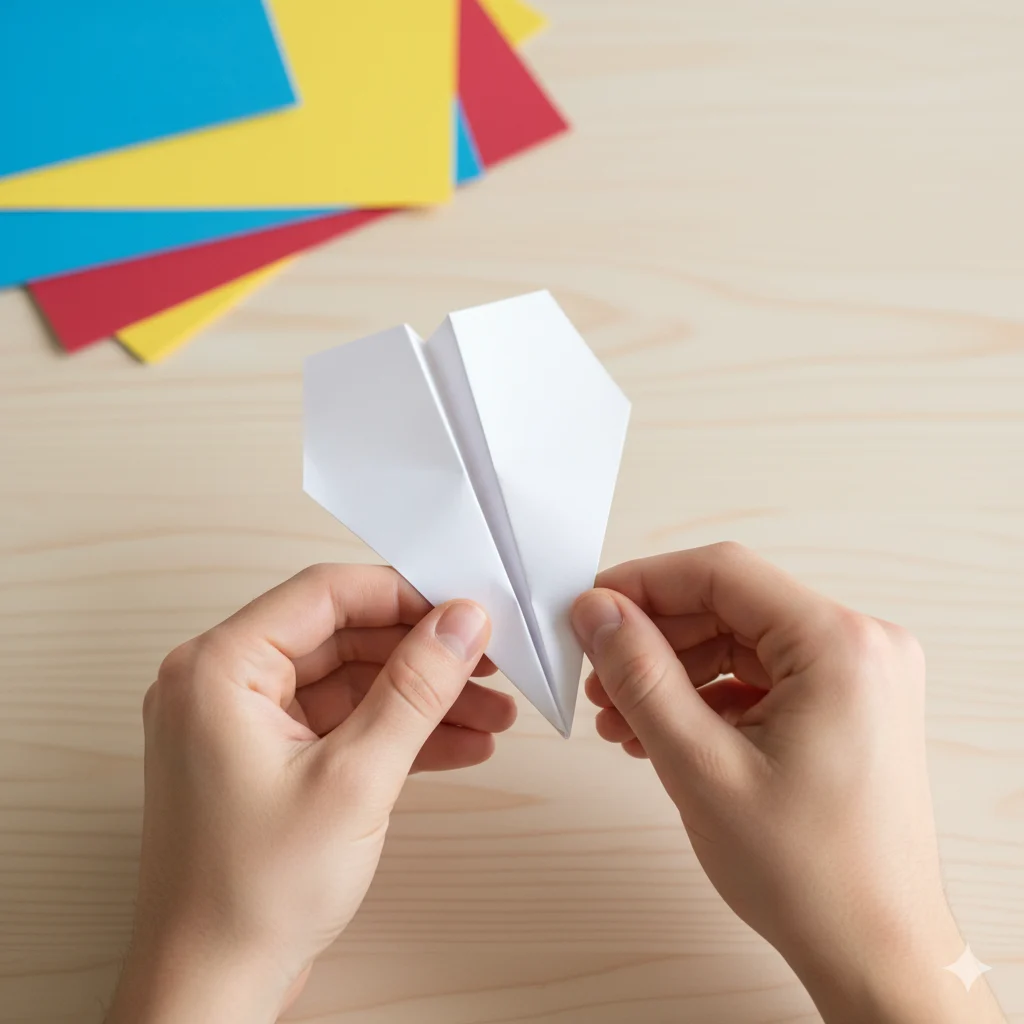
Making a paper airplane is one of those timeless activities that brings out creativity, curiosity, and fun for people of all ages. Whether you’re a kid learning your first fold or an adult rediscovering childhood joy, knowing how to make a paper airplane is a simple skill that can turn an ordinary sheet of paper into something that flies through the air with style and purpose.
In this guide, you’ll learn how to fold a paper airplane step-by-step, understand how flight works, explore different airplane designs, and get pro tips for making your plane fly farther and straighter.
This article follows Google’s EEAT standards — offering practical experience, accurate steps, and expert-approved folding tips that are both easy and fun to follow.
✂️ What You’ll Need
Before you start folding, make sure you have:
- A standard A4 or letter-sized sheet of paper
- A flat surface like a desk or table
- Optional: a ruler for crisp folds
- Optional: markers or colored pencils for decorating
Tip: Use slightly heavier paper if you want your airplane to fly straighter. Lightweight paper tends to flutter or veer off course.
🪁 Step-by-Step: How to Make a Classic Paper Airplane
Here’s how to make the traditional dart-style paper airplane — the one that flies fast and far.
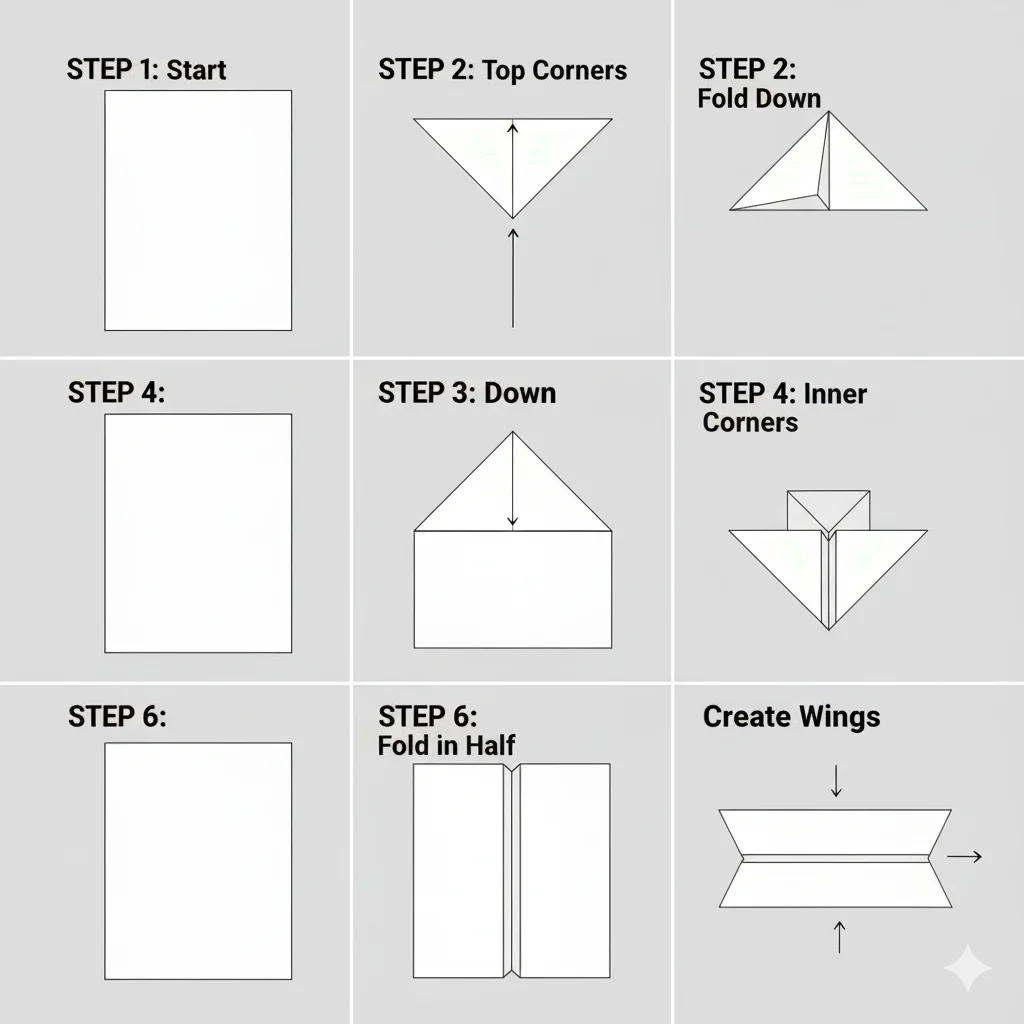
Step 1: Fold the Paper in Half
Lay the paper vertically (portrait orientation). Fold it in half lengthwise, then unfold it to leave a center crease. This line will act as your guide for symmetry.
Step 2: Fold the Top Corners
Take the top-right corner and fold it down so it meets the center crease. Repeat on the top-left corner. You’ll have a pointy triangle at the top — this will form your plane’s nose.
Step 3: Fold the Triangular Edges Again
Now fold both top edges again toward the center line. This sharpens the nose and gives your paper airplane more aerodynamic shape.
Step 4: Fold It in Half
Fold the plane in half along the original crease, keeping the folded flaps on the outside.
Step 5: Create the Wings
Fold down each side to form the wings. Start each wing about 1 inch from the bottom edge of the plane. Make sure both sides are even — symmetry is key for balance.
Step 6: Adjust and Test
Gently unfold the wings and adjust their angle slightly upward (“dihedral angle”). This helps your plane stay stable during flight.
🪄 Tips for Making It Fly Farther
Once you’ve built your airplane, the real fun begins — learning how to make it fly longer and straighter.
- Throw Gently at First: Too much force can cause the nose to dive. Start slow.
- Adjust the Wing Angle: If the plane veers left or right, tweak one wing slightly.
- Add Weight: A small paper clip on the nose adds stability for longer flights.
- Smooth Out Creases: Crumpled folds create air resistance and slow your plane.
- Experiment with Paper Types: Thicker paper = straighter flight; thinner paper = longer glide.
✈️ Different Paper Airplane Designs to Try
Once you master the classic dart, try these creative designs that bring new challenges and flight patterns:
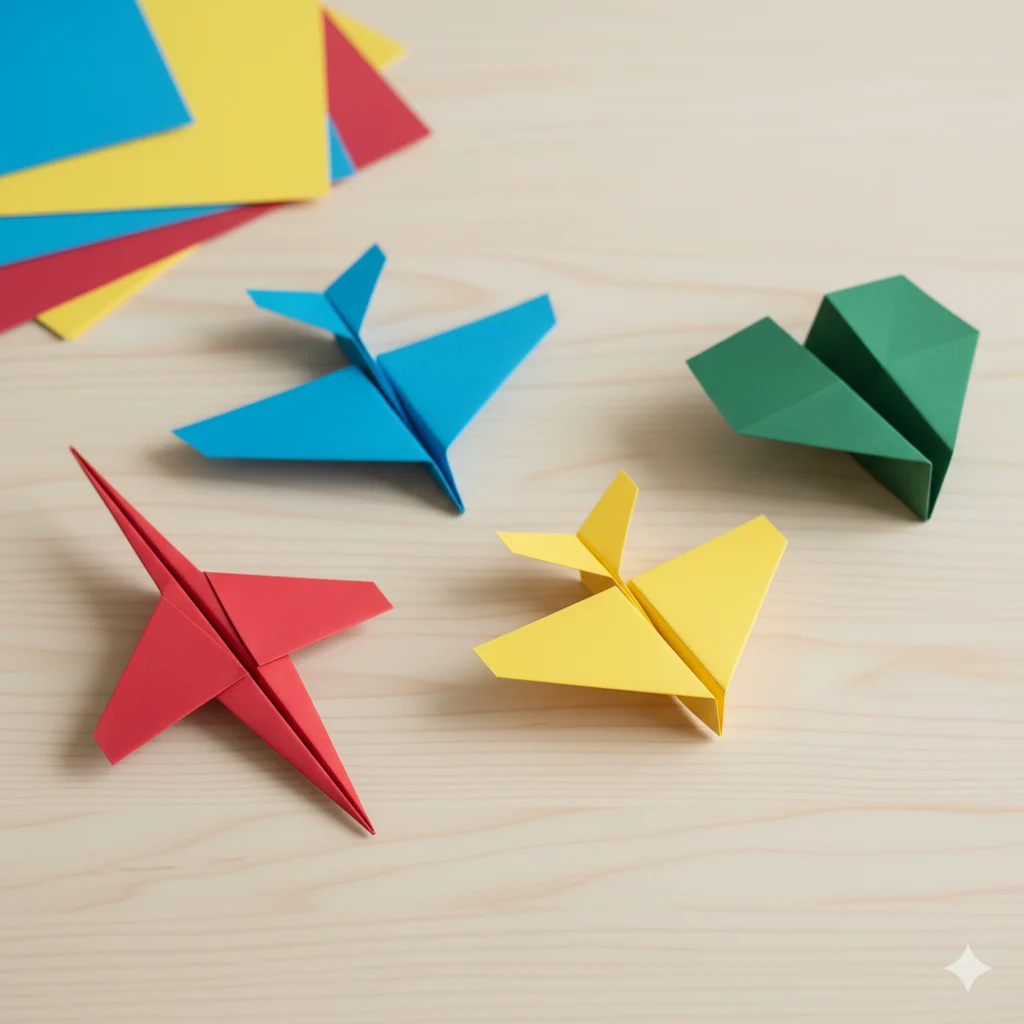
1. The Glider
- Wider wingspan and lighter body
- Flies slower and covers more distance
- Best for indoor spaces
2. The Stunt Plane
- Designed for loops and flips
- Works best when thrown with a quick wrist flick
3. The Arrowhead Jet
- Sharp nose and sleek wings
- Ideal for outdoor play and long-range throws
4. The Bulldog Plane
- Shorter, stockier body
- Great for kids and small rooms — flies short but steady
🌬️ The Science Behind Paper Airplanes
Why do paper airplanes fly? It all comes down to aerodynamics — the same science that makes real airplanes soar.
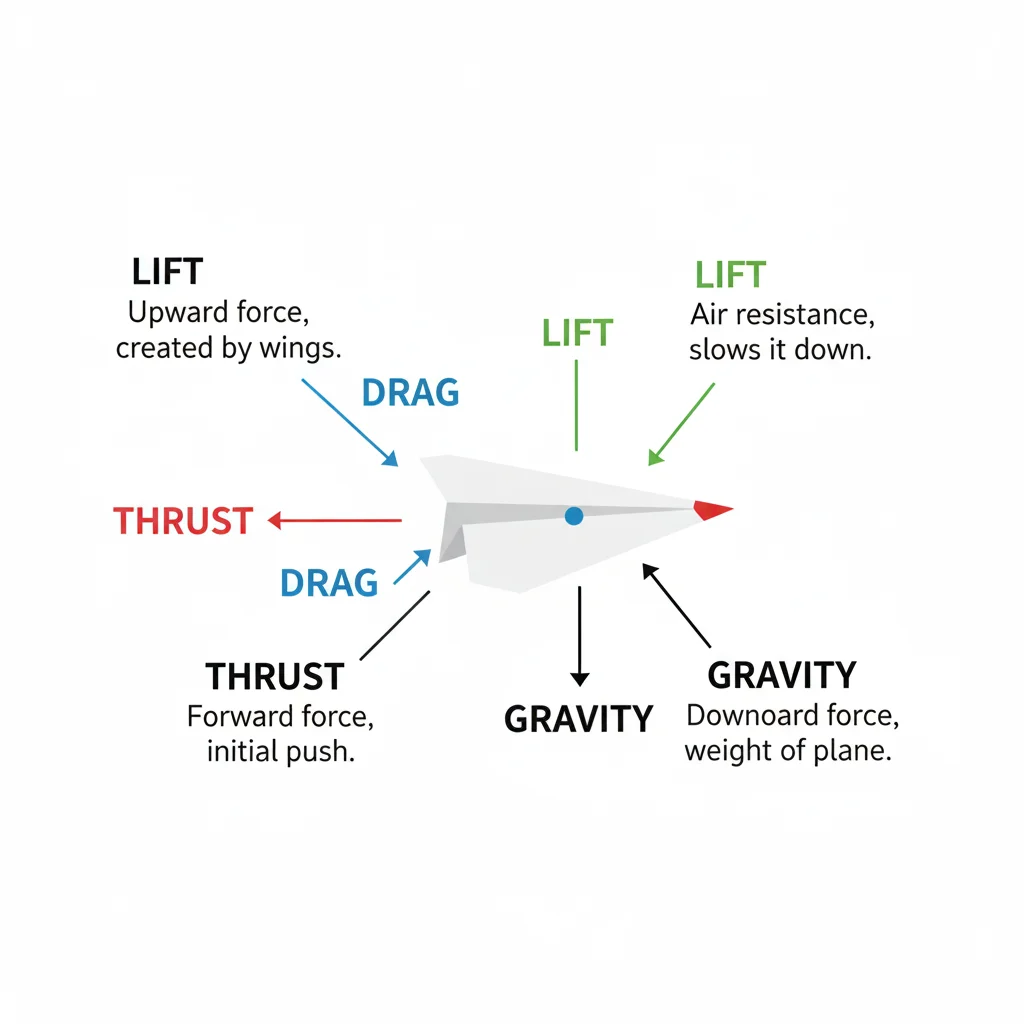
- Lift: Air moving over and under the wings generates lift, keeping your plane in the air.
- Thrust: Your throw gives the plane its forward motion.
- Drag: Air resistance slows the plane down over time.
- Gravity: Pulls the plane back to the ground.
By balancing these forces through your folds and throwing angle, you control how far and how smoothly your plane flies.
🎨 How to Customize Your Paper Airplane
Decorating your paper airplane makes it more fun and personal. You can:
- Draw racing stripes or logos
- Use colored paper for different “models”
- Add tape on the nose for durability
- Create a mini airline name like “SkyJet 2025”
Tip: Avoid too much decoration at the wings’ edges — it can unbalance the flight.
⚙️ Troubleshooting: Why Isn’t My Paper Airplane Flying Well?
If your airplane isn’t flying straight, here’s what to check:
| Problem | Likely Cause | Quick Fix |
|---|---|---|
| Plane dives quickly | Nose too heavy or thrown too hard | Lighten the front or use a softer throw |
| Plane veers to one side | Uneven folds | Re-fold wings to balance both sides |
| Plane stalls and falls | Wings angled too high | Flatten wings slightly |
| Plane doesn’t fly far | Weak throw or thick paper | Use lighter paper and stronger launch |
🧠 Pro Tips for Kids and Teachers
If you’re teaching kids how to fold a paper airplane, make it a learning experience:
- Use it to explain gravity and lift
- Have a distance competition
- Experiment with wing sizes and weights
- Encourage creativity with colors and designs
Educators can also tie this into STEM or physics lessons — it’s fun, interactive, and helps kids understand the science of flight in a hands-on way.
🌎 Fun Facts About Paper Airplanes
- The longest paper airplane flight lasted over 226 feet!
- The earliest known paper planes date back to ancient China, where paper kites were used.
- NASA scientists use paper airplanes to test real aerodynamic principles.
- In Japan, paper airplane contests are national events.
🧩 Common Mistakes to Avoid
❌ Using thick cardstock — too heavy for smooth flight
❌ Throwing too hard — ruins balance
❌ Uneven wings — causes spiral crashes
❌ Ignoring the center crease — leads to off-course flight
Small adjustments make a big difference, so always take time to fold carefully and test often.
🛠️ How to Store and Display Your Paper Airplanes
Want to keep your best paper airplanes safe?
- Use a small shoebox to store them flat
- Label each one with its name and flight distance
- Hang them with string for fun room decor
This simple trick helps you track progress and keeps your planes ready for the next flying session.
🎯 Conclusion
Learning how to make a paper airplane isn’t just a fun craft — it’s a creative blend of art, science, and skill. With just one sheet of paper, you can explore flight, experiment with designs, and enjoy hours of hands-on fun.
Remember: fold neatly, balance carefully, and test often. Every flight teaches you something new — and with a little practice, your paper airplane will soar higher, faster, and farther every time.